- Установка шрифтов в Windows 7
- Установка нового шрифта в Windows 7
- Массовая установка шрифтов в Windows 7 скриптом
- How to Install the Fonts You Want in Windows 10
- How to Install Fonts in Windows 10
- Add a font
- Powerful apps for productivity, connection, and security
- Add a font
- How to install and manage fonts in Windows 10 [Quick Guide]
- How can I install and manage new fonts in Windows 10?
- 1. Use the Fonts folder in Control Panel
- 2. Download fonts from the Microsoft Store
- 3. Use Adobe Fonts
- Adobe Fonts
- 4. Manage your fonts
- 5. Manage possible font issues
Установка шрифтов в Windows 7
Сегодня мы поговорим о различных способах установки шрифтов в Windows 7. Эта процедура, казалось бы, не должна вызывать особых проблем у пользователей системы и администраторов, но и в ней есть свои подводные камни. Попытаемся разобраться каким же образом можно установить шрифт в Windows 7, я приведу несколько способов, по мере увеличения сложности. Естественно, мы предполагаем, что вы уже скачали новый шрифт и, если он находился в архиве, вы его распаковали. Напомню, что файл шрифта имеет расширение .ttf.
Установка нового шрифта в Windows 7
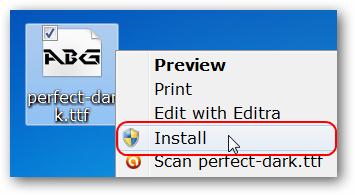
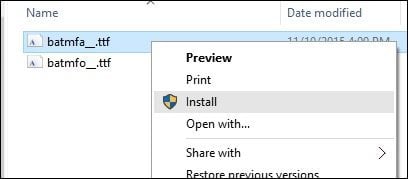
Чтобы установить новый шрифт, достаточно просто щелкнуть по файлу ttf правой клавишей мыши и выбрать пункт «Install» (Установить)
После чего появится окно, отображающее прогресс установки.
Еще один способ установки шрифтов заключается в том, что вам необходимо открыть панель управления шрифтами (Control Panel\All Control Panel Items\Fonts) и простым перетягиванием (Drag&Drop) перетянуть файл шрифта в это окно.
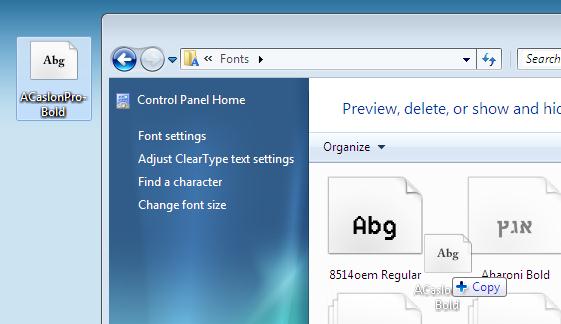
Если нужно установить сразу несколько шрифтов, то их так же просто можно выделить мышью и перетянуть на панель.
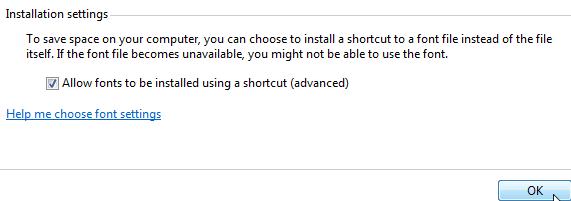
Есть еще одна интересная опция по добавлению новых шрифтов в Windows 7. Если новых шрифтов много, а места на системном диске мало, можно установить шрифты при помощи ярлыков. Для этого в панели управления шрифтами слева нажмите на пункт «Font Settings» (Параметры шрифта) и в появившемся окне отметьте галочкой опцию «Allow fonts to be installed using a shortcut (advanced)» (Разрешить установку шрифтов с помощью ярлыков). В этом случае Windows будет использовать новый шрифт прямо из того каталога, в котором он находится.
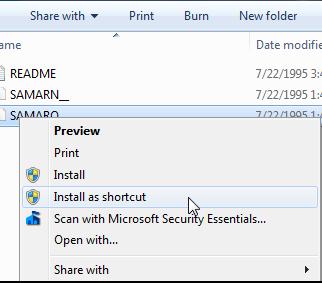
Теперь, если щелкнуть правой кнопкой по шрифту, появится дополнительный пункт меню «Install as shortcut» (Установить как ярлык).
Массовая установка шрифтов в Windows 7 скриптом
Представим ситуацию, когда нужно установить сразу несколько десятков шрифтов на несколько компьютеров. Естественно вручную делать это очень долго и нудно. Есть ли способ автоматизации установки новых шрифтов в Windows 7. К счастью есть!
Во времена Windows XP чтобы установить шрифт, достаточно было просто скопировать его файл в каталог C:\Windows\Fonts. В Windows 7 такой трюк не сработает, и хотя вы можете сказать, что чуть выше мы проводником копируем файл со шрифтом в каталог C:\Windows\Fonts, я возражу, сказав что не все так просто. При копировании шрифта с помощью Windows Explorer осуществляется не просто копирование. Система определяет, что копируется новый шрифт и автоматически запускает его установку в систему, поэтому и появляется всплывающее окно с текстом «Installing».
Для установки шрифтов в Windows 7 можно воспользоваться файлом-сценария на языке VBS. Допустим, у нас есть каталог c:\install\font, в котором содержатся файлы шрифтов, которые нужно установить. Мы создаем на диске новый файл с расширением vbs (например, batch_install_font.vbs), копируем в него указанный код и запускаем его как обычную программу:
Set objShell = CreateObject(«Shell.Application»)
Set objFolder = objShell.Namespace(«c:\install\font»)
Set objFSO = CreateObject(«Scripting.FileSystemObject»)
For Each FontFile In objFolder.Items()
Set objFolderItem = objFolder.ParseName(FontFile)
If Not objFSO.FileExists(«c:\windows\fonts\» & FontFile) Then
objFolderItem.InvokeVerb («Install»)
End If
Next
В результате запустится последовательная установка новых шрифтов из каталога c:\install\font в систему и для каждого из них появится окно с индикатором выполнения процесса. 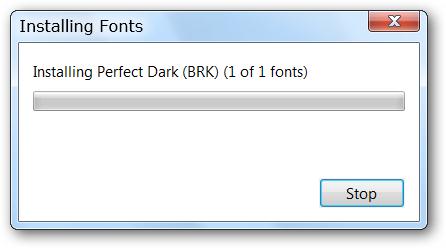
Если данные шрифты уже установлены в Windows 7, то их повторная установка запущена не будет.
How to Install the Fonts You Want in Windows 10


Windows comes preloaded with a lot of stylish fonts, but they might not be what you are looking for. Thankfully Windows 10 makes it easy to install any font you desire. Here’s a look at how to install them.
How to Install Fonts in Windows 10
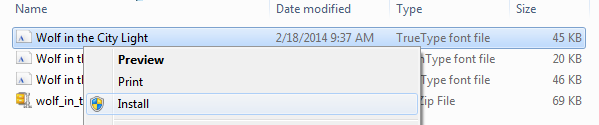
Once you have your font downloaded (these are often .ttf files) and available, just right-click it and click Install. That’s it! I know, uneventful.
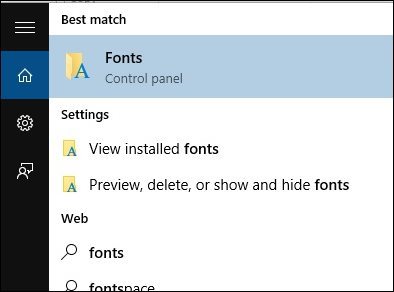
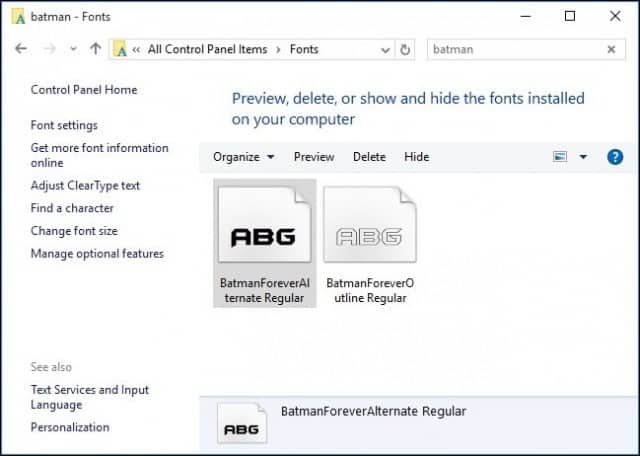
To check if the font is installed, press Windows key+Q then type: fonts then hit Enter on your keyboard.
You should see your fonts listed in the Font Control Panel.
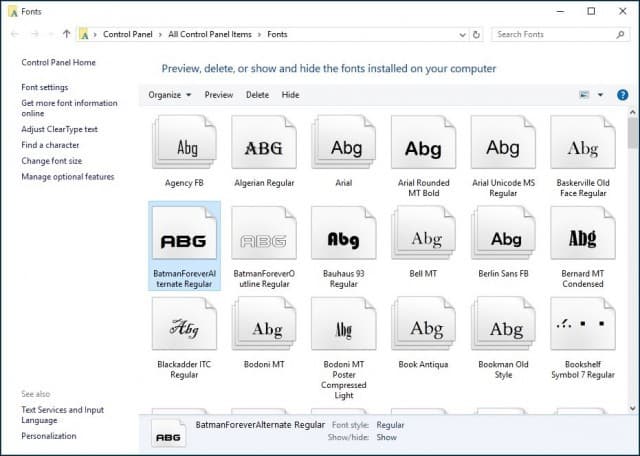
If you don’t see it and have a ton of them installed, just type in its name in the search box to find it.
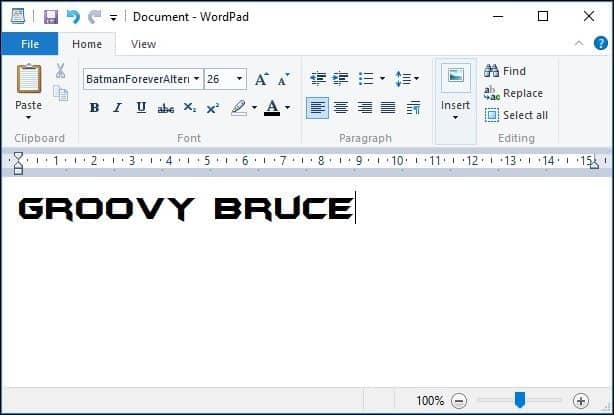
That’s all there is to it. Now you can create stylish and unique documents with some of your favorite fonts not included in Windows 10 by default.
If you’re not on Windows 10 yet, check out our article on how to install fonts on Windows 8.1.
If you’re a graphics design enthusiast, before downloading a font, be sure to check out our article about the best and worst fonts for homemade designs.
Add a font
Powerful apps for productivity, connection, and security
One way you can change the style of a document is by adding a new text font. To add a font to Word, download and install the font in Windows, where it will become available to all Office applications.
Fonts come as files, and there are many sites on the Internet where you can download free fonts, such as DaFont. You can also import font files from a CD, a DVD, or your organization’s network. TrueType (file extension .ttf) and OpenType (.otf) fonts both work fine.
Note: Before you download a font, make sure that you trust the source.
Add a font
Download the font files. These often come compressed in .zip folders . In one .zip folder, you might find several variations on the same font, such as “light” and “heavy.” A .zip folder usually looks like this:

If the font files are zipped, unzip them by right-clicking the .zip folder and then clicking Extract. Now you’ll see the available TrueType and OpenType font files:

Right-click the fonts you want, and click Install.
If you’re prompted to allow the program to make changes to your computer, and if you trust the source of the font, click Yes.
Your new fonts will appear in the fonts list in Word.
Here are two other ways to install and manage fonts:
All fonts are stored in the C:\Windows\Fonts folder. You can also add fonts by simply dragging font files from the extracted files folder into this folder. Windows will automatically install them. If you want to see what a font looks like, open the Fonts folder, right-click the font file, and then click Preview.
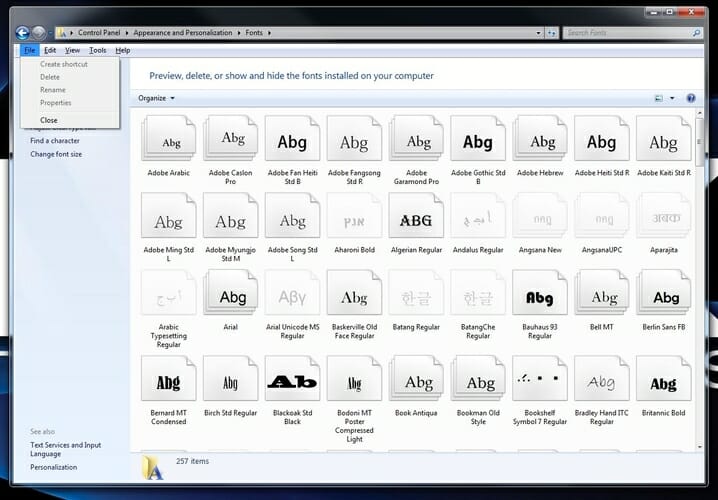
Another way to see your installed fonts is through Control Panel. In Windows 7 and Windows 10, go to Control Panel > Fonts. In Windows 8.1, go to Control Panel > Appearance and Personalization > Fonts.
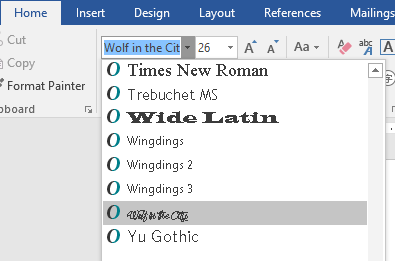
The next time you start Word, you’ll see the fonts you added in the Font list.
How to install and manage fonts in Windows 10 [Quick Guide]

- If you’re looking to install the best fonts for Windows 10, in our article we’ll give you some unexpected and fun options.
- Going for something more sophisticated? then Adobe will surprise you with a multitude of features.
- Once you add your favorite fonts to Windows 10, learn to manage them efficiently in our excellent guide.
- You won’t have to worry about potential errors regarding fonts, we have some great solutions for that too.

- Photos
- Videos
- Songs
- 3D models & infographics
- Many other artworks
If you want to add some additional cool fonts to your Windows 10 OS, you don’t have to put much effort in it, because it’s very easy.
And in this article we’ll show you not only how to install fonts in your Windows 10 but we’ll also provide you with interesting data on how to manage them.
How can I install and manage new fonts in Windows 10?
1. Use the Fonts folder in Control Panel
- Go to Search.
- Type fonts and open Fonts.
- Drag your font file to Fonts folder and wait until the installation is complete.
Your fonts are packed in .otf files and these files have an installing option, so just right-click on the font you want to install, and choose Install.
There are two ways to add fonts to Windows 10: you can add them simply by installing them or putting them in the Fonts folder in Control Panel.
2. Download fonts from the Microsoft Store
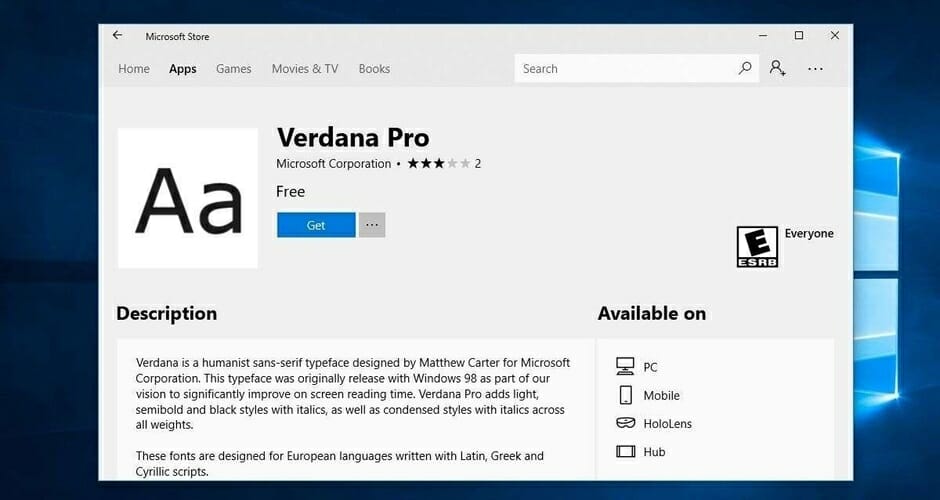
You can also download and install Windows 10 fonts from the Microsoft Store. There are many resources that you can use to add new fonts on your computer.
For example, the Fonts app lets you customize your posts and replies on social media using a wide variety of fonts.
You can write in different styles and your text will definitely stand out in the crowd. You can also rotate your text if you want to puzzle your friends.
3. Use Adobe Fonts

However, if you want to see what it is truly like to have all of the top-quality fonts at your disposal, then your best bet is with Adobe Fonts.
By using Adobe Fonts, you will get the fonts directly on the websites that you are using. More so, they become synced via Adobe Creative Cloud to applications installed on the subscriber’s PC.
Get ready to be amazed by the multitude of style fonts that can help you enhance the impact you make whether you’re an entrepreneur or a media content creator.
You have over 1.000 different options to choose from and they’re all one click away, all you have to do is switch the toggle button and you’re free to make the best of those amazing fonts.
The fonts you download with this smart tool can also be used with other editing programs, for example you can add the Adobe font to Photoshop in your Windows 10.
A great advantage of this high-quality tool is the fact it’s reliable so you won’t have to deal with bugs or other annoying errors.

Adobe Fonts
4. Manage your fonts

Once installed, you can manage your fonts. You can preview them to make sure that you really like them, hide them if you’re not planning on using them any time soon or you can simply delete them.
All you need to do is go to Start, type fonts and double click on the first result. The fonts window will now open and you just have to select the font that you want to manage and click on the option of your choice.
There you go, with just a few simple steps, you have new fonts installed on your computer, ready to decorate your project or other kinds of work.
As we already showed you, managing your fonts is as easy as installing them. Just go to the above-mentioned Fonts folder in Control Panel, where you can preview, add, delete or even print your fonts.
5. Manage possible font issues

Upgrading to Windows 10 can also create some font-related problems. These are not some out-of-normal issues but can seriously obstruct you from using your PC.
Hopefully, we have managed to find the necessary fixes for the most faced font issues in Windows 10.
First of all, we have a great fix article if you encounter problems with installing fonts in Windows 10 that it’s definitely worth your attention.
Fortunately we managed to offer solution for one of he most common issues that users confront with and you can check it in our article on how to fix the font being too small in Windows 10.
If you’re having issues with changing the default font in Windows 10 Registry Editor, take a look at this guide that will help you handle the problem. Checking the fixing guides above will help you get rid of various font issues in Windows 10.
As you can there are plenty of sources if you want to install fonts in Windows 10 and we recommend you to try all of them.
Don’t forget that if you encounter any issues you can always check out the useful guides we mentioned about how you can fix potential errors.
If you have some additional comments or questions, please write them down in the comments section below, we would love to hear them.


