- How to create custom resolutions on Windows 10 [EXPERT GUIDE]
- How to set custom resolution on Windows 10?
- 1. Use the Nvidia Control Panel
- 2. Use the AMD Catalyst Control Center
- 3. Use Custom Resolutions/Modes for Intel Graphics driver
- 4. Use Custom Resolution Utility (CRU)
- FIX: Windows 10 changes resolution on its own
- What can I do if Windows 10 changes resolution by itself?
- 1. Update your drivers
- DriverFix
- 2. Deselect the base video option
- 3. Clean boot Windows
- 4. Rollback graphics card driver update
- 5. Reinstall the graphics card driver
- 6. Restore Windows to an earlier date
- Can’t change Screen Resolution in Windows 10
- Cannot change Screen Resolution in Windows 10
How to create custom resolutions on Windows 10 [EXPERT GUIDE]

- Download Restoro PC Repair Tool that comes with Patented Technologies (patent available here).
- Click Start Scan to find Windows issues that could be causing PC problems.
- Click Repair All to fix issues affecting your computer’s security and performance
- Restoro has been downloaded by 0 readers this month.
Sometimes you want to change the resolution of the display to a custom one, and in today’s article we’ll show you how to create custom resolutions on Windows 10.
To do that, just follow the guide below.
How to set custom resolution on Windows 10?
1. Use the Nvidia Control Panel
- Right-click on your desktop and choose NVIDIA Control Panel.
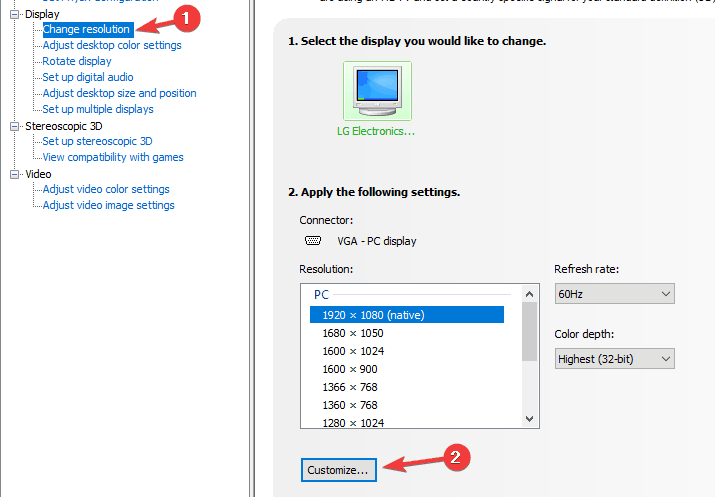
- In the left side-panel, under Display, click on Change resolution.
- In the right section scroll a bit, and under Choose the resolution click the Customize button.

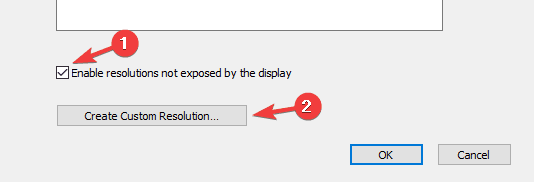
- In the new window that appears, check Enable resolutions not exposed by the display and then click on Create Custom Resolution.
- Now, fill in the boxes with the desired values and then hit the Test button.
- If the test is successful and you’re satisfied with the result, Save the resolution. If not, revert to the previous one.
2. Use the AMD Catalyst Control Center
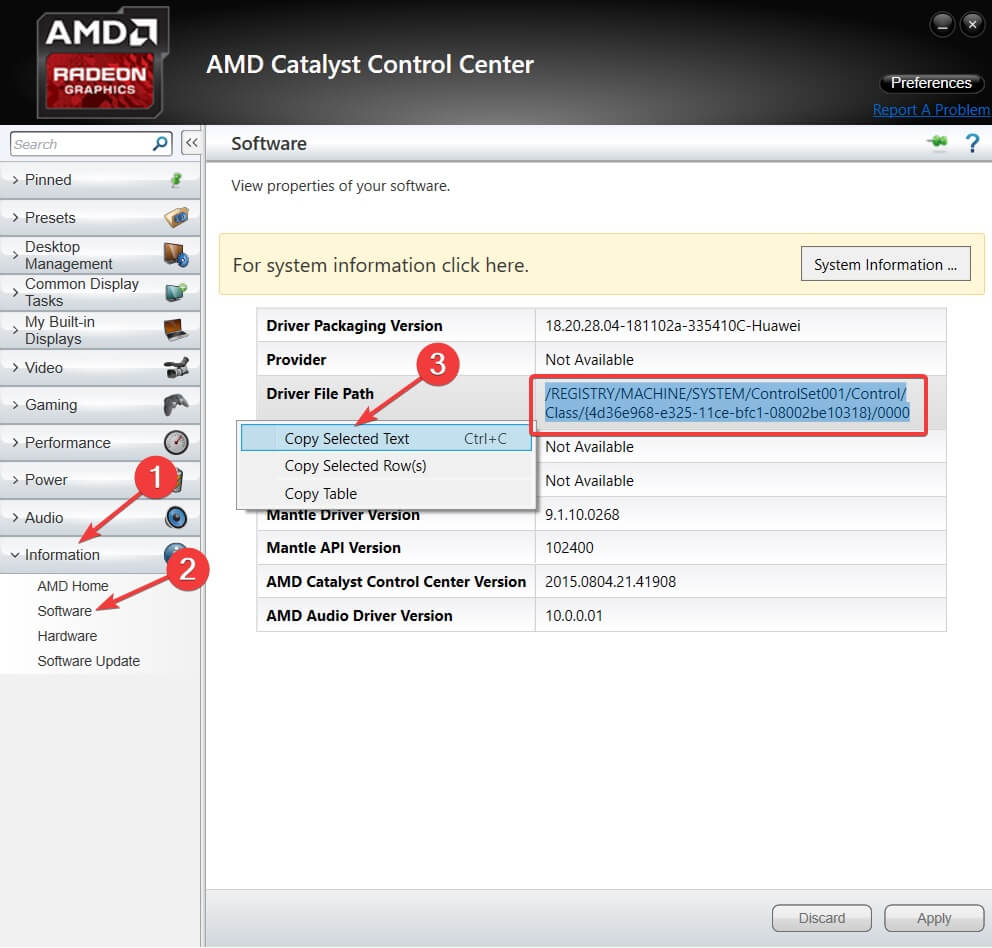
- Right-click on your desktop and choose AMD Catalyst Control Center.
- Navigate to Information > Software > copy the 2D driver file path.
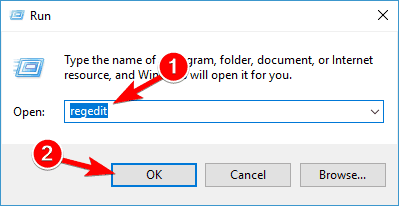
- Now, press Windows key + R to open Run, and type regedit. Hit Enter.
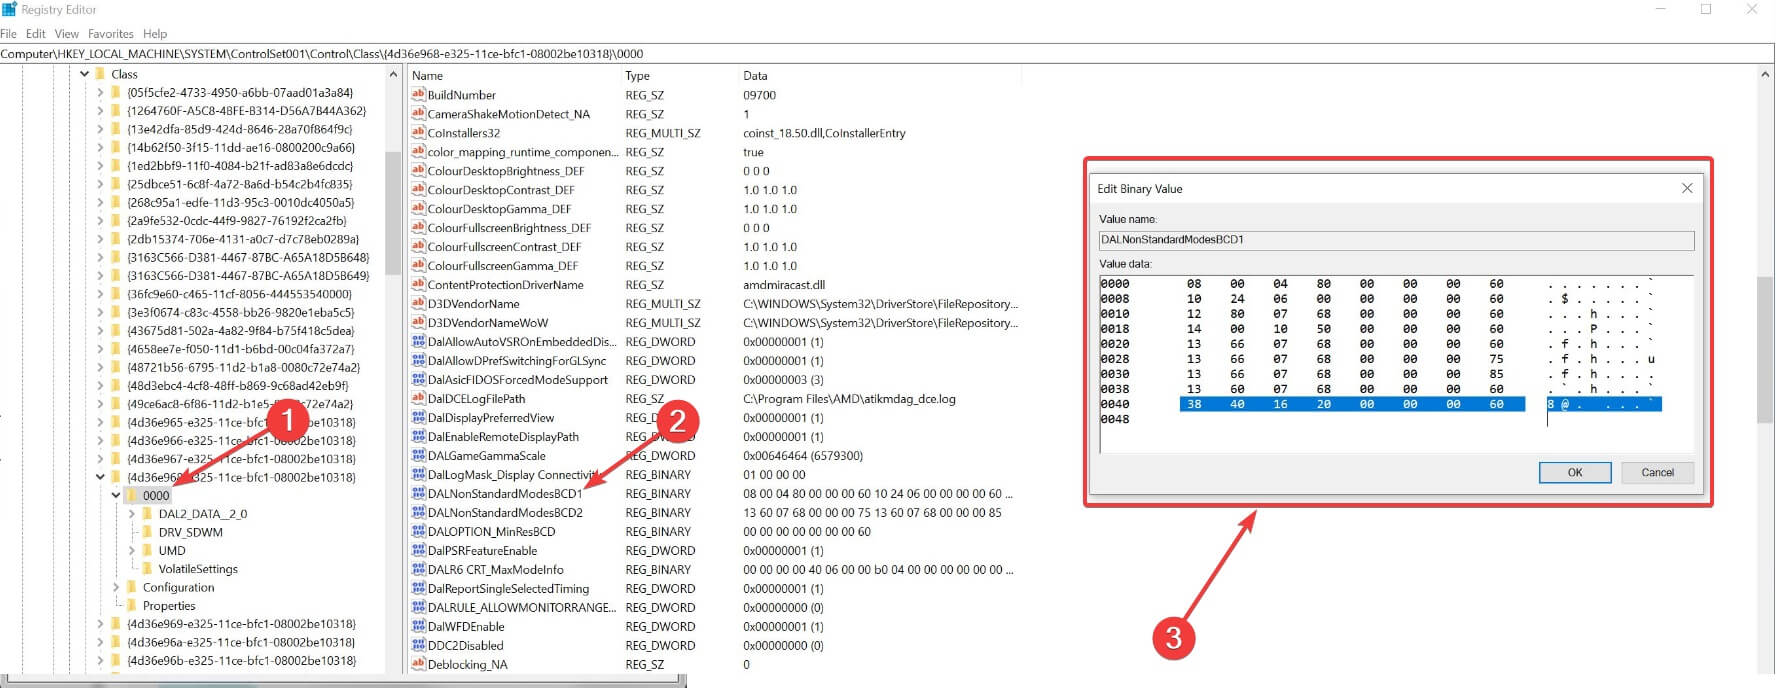
- In the Registry Editor, navigate to the 2D path from step 2.
- Double-click the 0000 folder and inside find the DALNonStandardModesBCD1 registry key. Right-click it, select Edit and then type your desired values in order: The width of the resolution > The height of the resolution > Type four zeros > The refresh rate of your monitor. If any of the values don’t add up to a 4 digit number, then start the number with 0.
- Click OK and Restart your PC.
- After the restart, when you launch the AMD Catalyst Control Center, you should find the custom resolution there.
3. Use Custom Resolutions/Modes for Intel Graphics driver
- Right-click on your desktop and choose Graphics Proprieties.
- Select Advanced mode if you’re prompted to select an application mode.
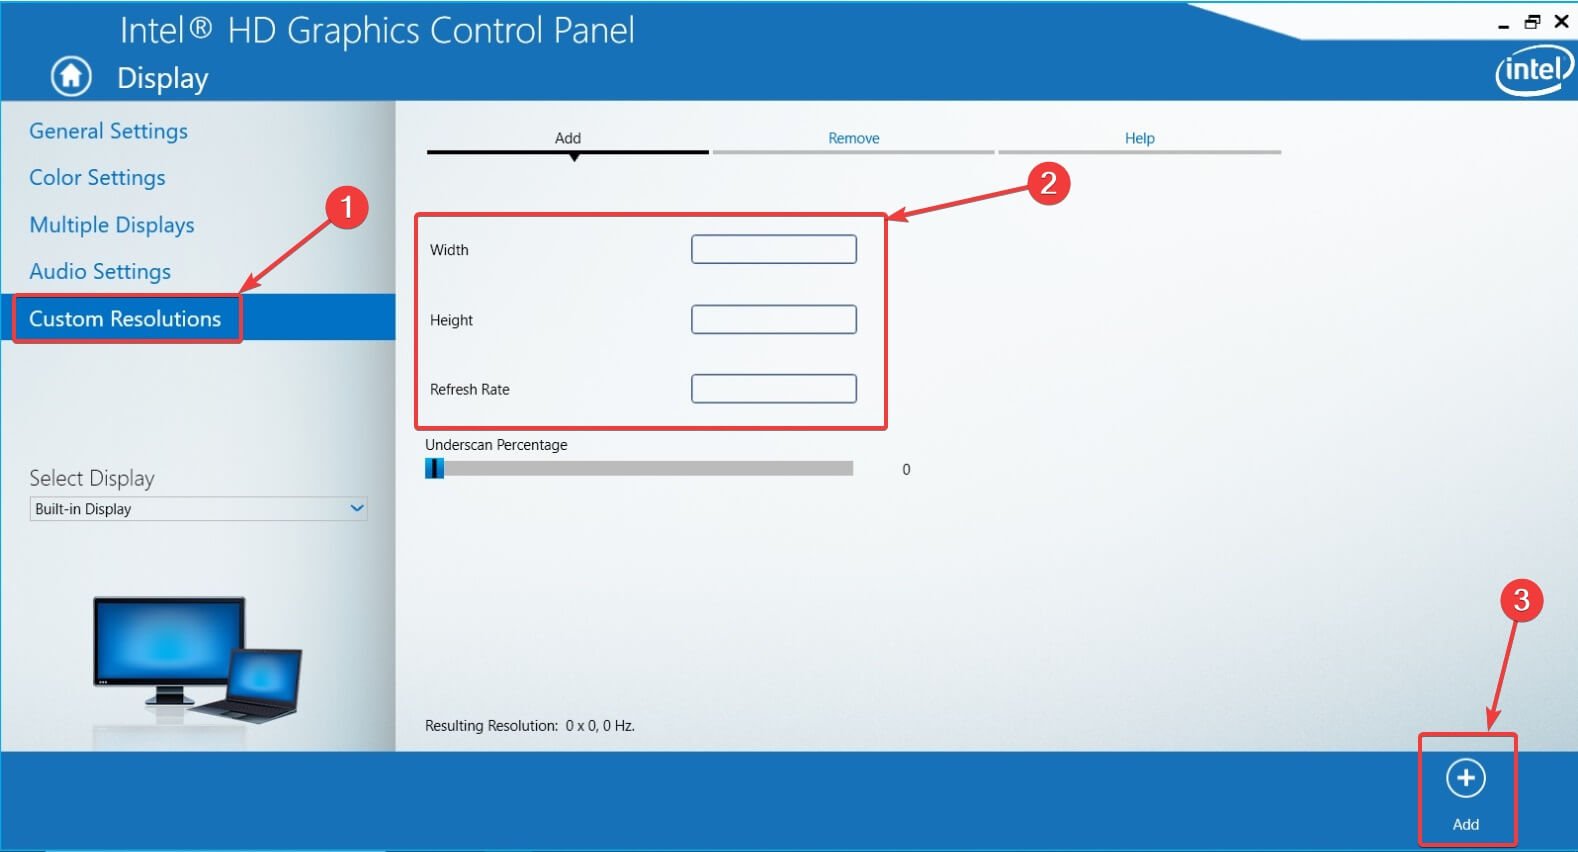
- Under Display Devices tab, check to see if the Custom Resolutions/Modes button is available. If it is, click on it. If it’s not, then go to
and run the app.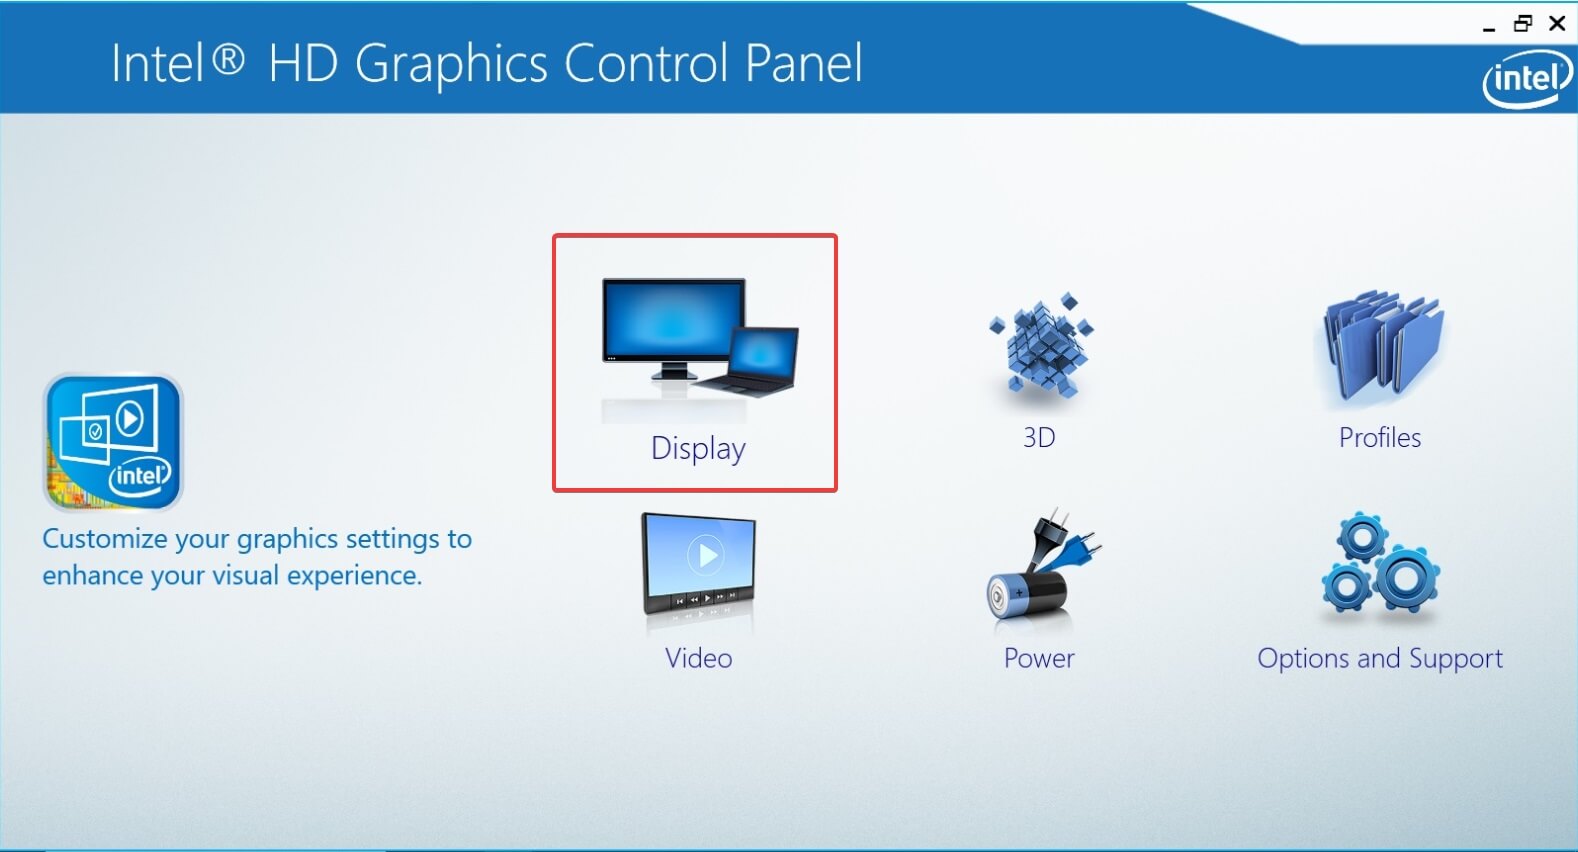
4. Use Custom Resolution Utility (CRU)

- Additionally, you can use Custom Resolution Utility (CRU) to create a resolution.
- The app has support for NVIDIA, AMD and Intel graphics cards so no matter of the system configuration, it will work.
As you can see, it’s not that hard to create and set a custom resolution in Windows 10, regardless of the GPU manufacturer and drivers. What’s your favorite GPU manufacturer and why? Leave the answer along with any other questions you may have in the comments section below.
FIX: Windows 10 changes resolution on its own

- Many users reported that their Windows 10 resolutions settings change automatically when they restart their devices.
- Follow our list of solutions below for steps on how to fix this issue.
- You can find even more extensive guides on our Troubleshooting page.
- Our articles in the Windows 10 Hub will help with more tips & tricks for your Windows 10 laptop, so check it out.
- Download Restoro PC Repair Tool that comes with Patented Technologies (patent available here).
- Click Start Scan to find Windows issues that could be causing PC problems.
- Click Repair All to fix issues affecting your computer’s security and performance
- Restoro has been downloaded by 0 readers this month.
The Windows 10 resolution setting doesn’t usually reconfigure itself. Yet, some users have said that their VDUs’ resolutions change from the default setting whenever they start Windows.
After adjusting the display resolution to a higher setting, it then dropdowns to a lower resolution after the users restart Windows. It is a somewhat baffling issue that arises for some users.
The resolution changing can often be due to incompatible or corrupted graphics card drivers and the Base video option.
In addition, conflicting third-party software might adjust the resolution. In this article, we’ll show how you can fix the resolution in Windows 10 when it automatically changes.
Table of Contents:
What can I do if Windows 10 changes resolution by itself?
1. Update your drivers
The resolution changing can often be due to incompatible or corrupted graphics card drivers so it can be a good idea to make sure they are up to date.
You can update the card drivers using dedicated software, such as DriverFix.
Here are the steps you need to follow:
- Download DriverFixand launch the tool.
- Wait for Driverfix to scan your PC.
- Select the graphics card drivers from your list.
- Wait while DriverFix deals with your drivers.
- Restart your PC.
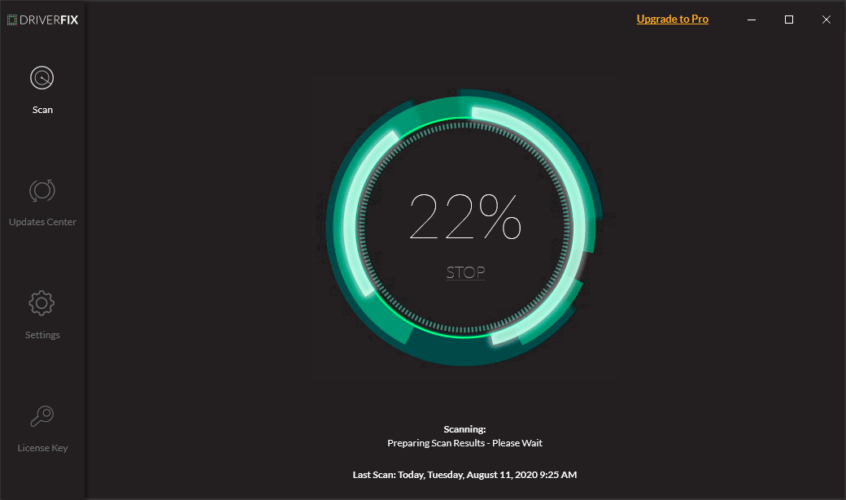
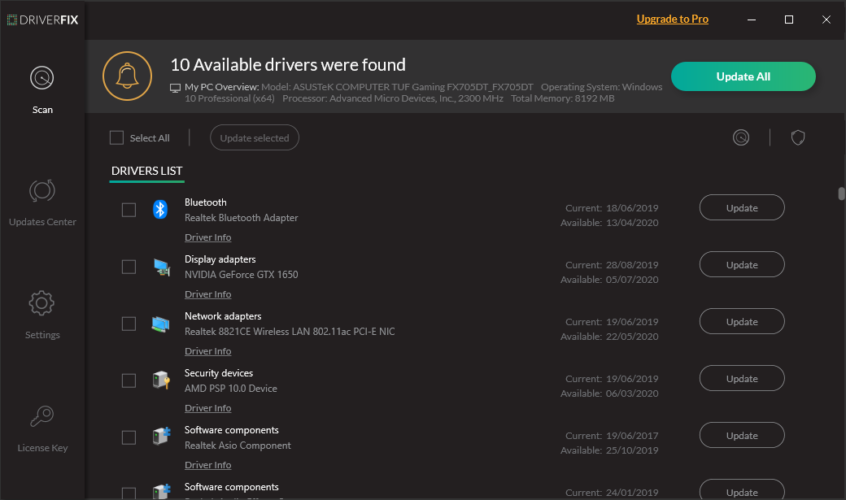

DriverFix
2. Deselect the base video option
- Press the Windows+ X key.
- Click Run on the menu to open that accessory.
- Enter msconfig in Run, and click the OK button.
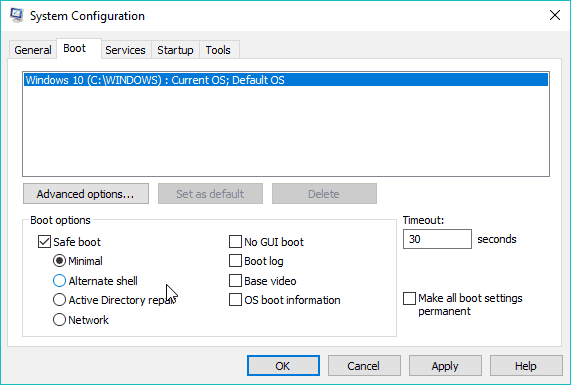
- Then click the Boot tab on the System Configuration window.
- Deselect the Base video checkbox.
- Press the Apply button to confirm the new settings.
- Click OK to close the window.
- Restart windows after closing System Configuration.
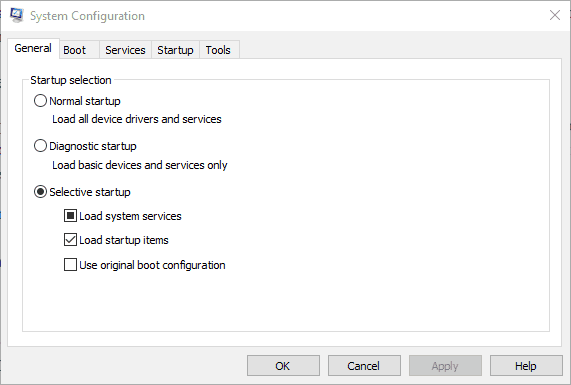
3. Clean boot Windows
- Open Run with the Windows key + R hotkey.
- Input msconfig in Run and click OK.
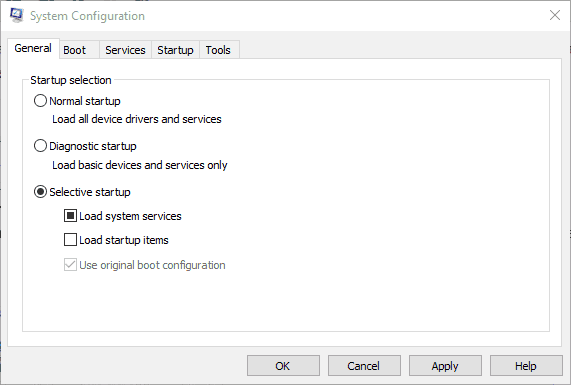
- Click the Selective startup radio button on the General tab.
- Deselect the Load startup items checkbox.
- Select the Load system services and Use original boot configuration options.
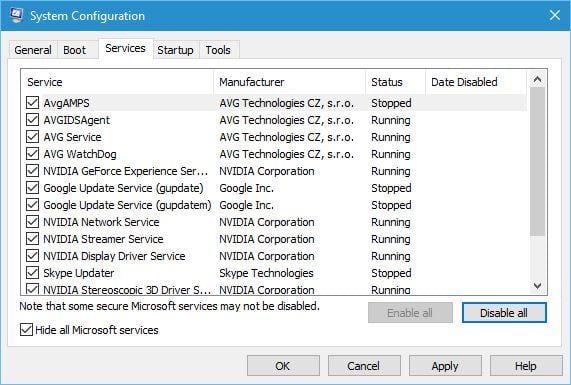
- Select the Services tab and click the Hide all Microsoft services option.
- Press the Disable all button.
- Select the Apply option, and press the OK button.
- Then select the Restart option on the System Configuration window.
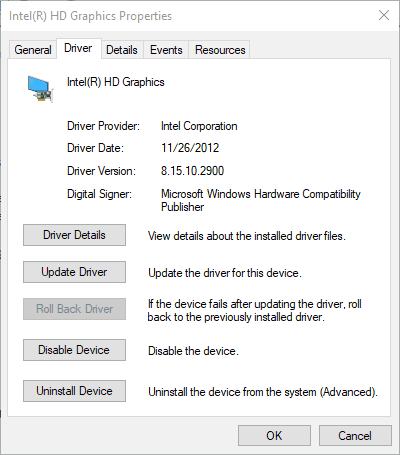
4. Rollback graphics card driver update
- Press the Windows key + R to launch Run.
- Then input devmgmt.msc in Run and click OK.
- Double-click Display adapters.
- Right-click your video card and select Properties.
- Then press the Roll Back Driver button on the Driver tab.
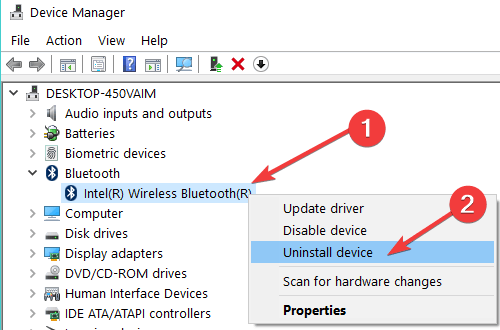
5. Reinstall the graphics card driver
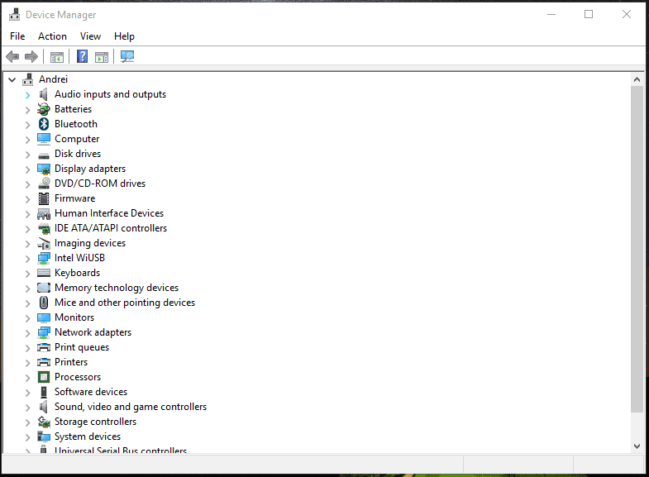
- Open the Device Manager window.
- Expand the Display adapters category.
- Right-click your video card and select the Uninstall device option.
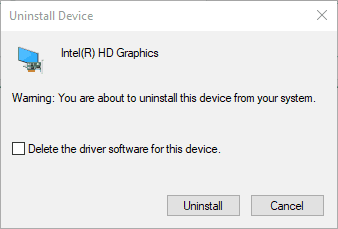
- Select the Delete the driver software for this device option on the Uninstall Device dialog box.
- Press the Uninstall button.
- Windows will automatically reinstall a video card driver when you restart the desktop or laptop.
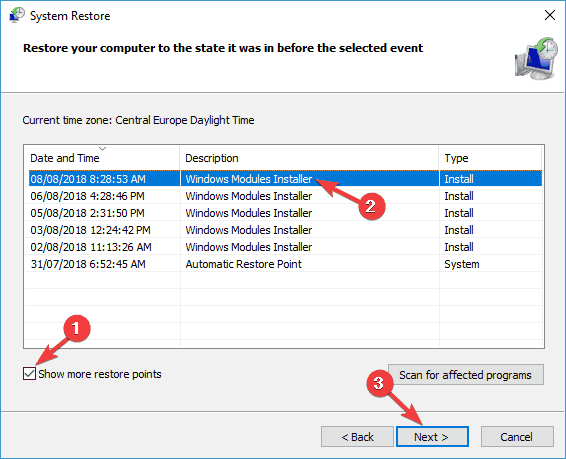
6. Restore Windows to an earlier date
- Open Run with the Windows key + R hotkey.
- Input rstrui in Run’s text box and press Enter.
- Click the Choose a different restore point radio option, and press the Next button.
- Select the Show more restore points checkbox.
- Select a listed restore point, and press the Next button.
- Press the Finish button to confirm your selected restore point and roll back the OS.

Those are some of the fixes users have fixed the display resolution with. In addition to those fixes, turning off the screen saver and fast startup mode might also resolve the issue.
If you have additional suggestions or recommendations, let us know in the comments section below.
Can’t change Screen Resolution in Windows 10
Many a time, mostly after an Update to Windows or installation of a new graphics card, you may not be able to adjust the Screen Resolution on your PC running on Windows 10. Sometimes you would not be able to find an option to change the screen resolution because the drop-down freezes, or it always reverts to the old resolution. Even worse, the monitor doesn’t display the native resolution. In this post, I am talking about how to fix the problem, if you can’t change the screen resolution in Windows 10.
Just before you start, let’s try some basic tips. Open Settings where you get to change the screen resolution. Go to Settings > System > Display. You should see a dropbox under the label Resolution. See if you can change it to a resolution which either you want to is better than this. Sometimes, because of some issue, the display drivers automatically change the screen resolution. If this doesn’t solve your problem, let’s try other methods.
Cannot change Screen Resolution in Windows 10
The primary reason for this issue is driver misconfiguration. Sometimes Drivers aren’t compatible, and they choose a lower resolution to stay safe. So let’s first update the Graphics driver or maybe rollback to the previous version.
Note: Try this fix if only your apps are blurry.
1] Update or Roll Back Graphics Driver:
- Open Device Manager ( WIN + X + M)
- Expand Display Adapters, and select the GPU listed there.
- Note down the OEM, and Model no, and download the latest driver from their website.
- Run the driver program which you just downloaded, and install it.
- If it’s an INF file or some other format, you can right-click on the CPU, and update the driver.
- It will ask you to locate the INF file, and then install it.
In case your driver is already updated to the latest version, you can try rolling back to the old driver. It is only possible if you have a backup for your driver before the update or you can find one on the OEM website.
2] Turn on GPU Scaling
If you own an AMD graphics card or NVIDIA, you may want to check GPU scaling option. It allows scaling the image, so it fits the screen both vertically and horizontally, i.e., no black borders.
AMD:
- Open your AMD Radeon settings
- Click on ‘Display’
- Find GPU Scaling there and enable it
NVIDIA:
Open NVIDIA Control Panel. Here you have two options:
a) Change Resolution or Create New Resolution: Here you can create a custom resolution for your display, but keep the refresh rate same.
You can test before finalizing. This is useful when you know a particular resolution was there, but the monitor resolution not listed now.
b) Adjust Desktop Size: You can choose between Full Screen, Aspect Ratio, or no scaling. Scaling can be on GPU level or just monitor. Here is a bit of warning though. While it might not show any visible signs during regular work including video playback, you might see noticeable lag when playing a video game.
If your problem is only limited to a particular app, you may want to give it access to GPU. Go to Settings > System > Display > Graphics Settings.
These are the only possible solutions we have noticed when Windows 10 won’t let you change the resolution of your display. Sometimes, the resolution is stuck at a lower resolution, and there is no way to fix it. If these don’t solve the problem for you, I would suggest one last thing before reinstalling Windows. Create a new account, and see if it works for you. Sometimes, accounts get corrupted, and profiles cant be fixed.
Let us know if any of these tips helped you.
Date: July 12, 2018 Tags: Screen Resolution


